Pattern - PJ Dress (Nighty)
- Sewing for Beginners

- Jun 21, 2022
- 2 min read
A few months ago, I had purchased some soft material ideal for pjs but never got around to sewing (I have a newborn so a bit of a challenge haha) So last night I plucked out some courage and put together a pj for my (soon to be) 6 year old.
What do I need to create this garment?
Tracing paper/ hard cardboard paper
Dark Pencil
Eraser
A pair of scissors for paper cutting
Material scissors
Desired material
Bias binding (optional)
Matching thread
Ruler
Sewing machine
Overlocker (optional)
Drafting your pattern
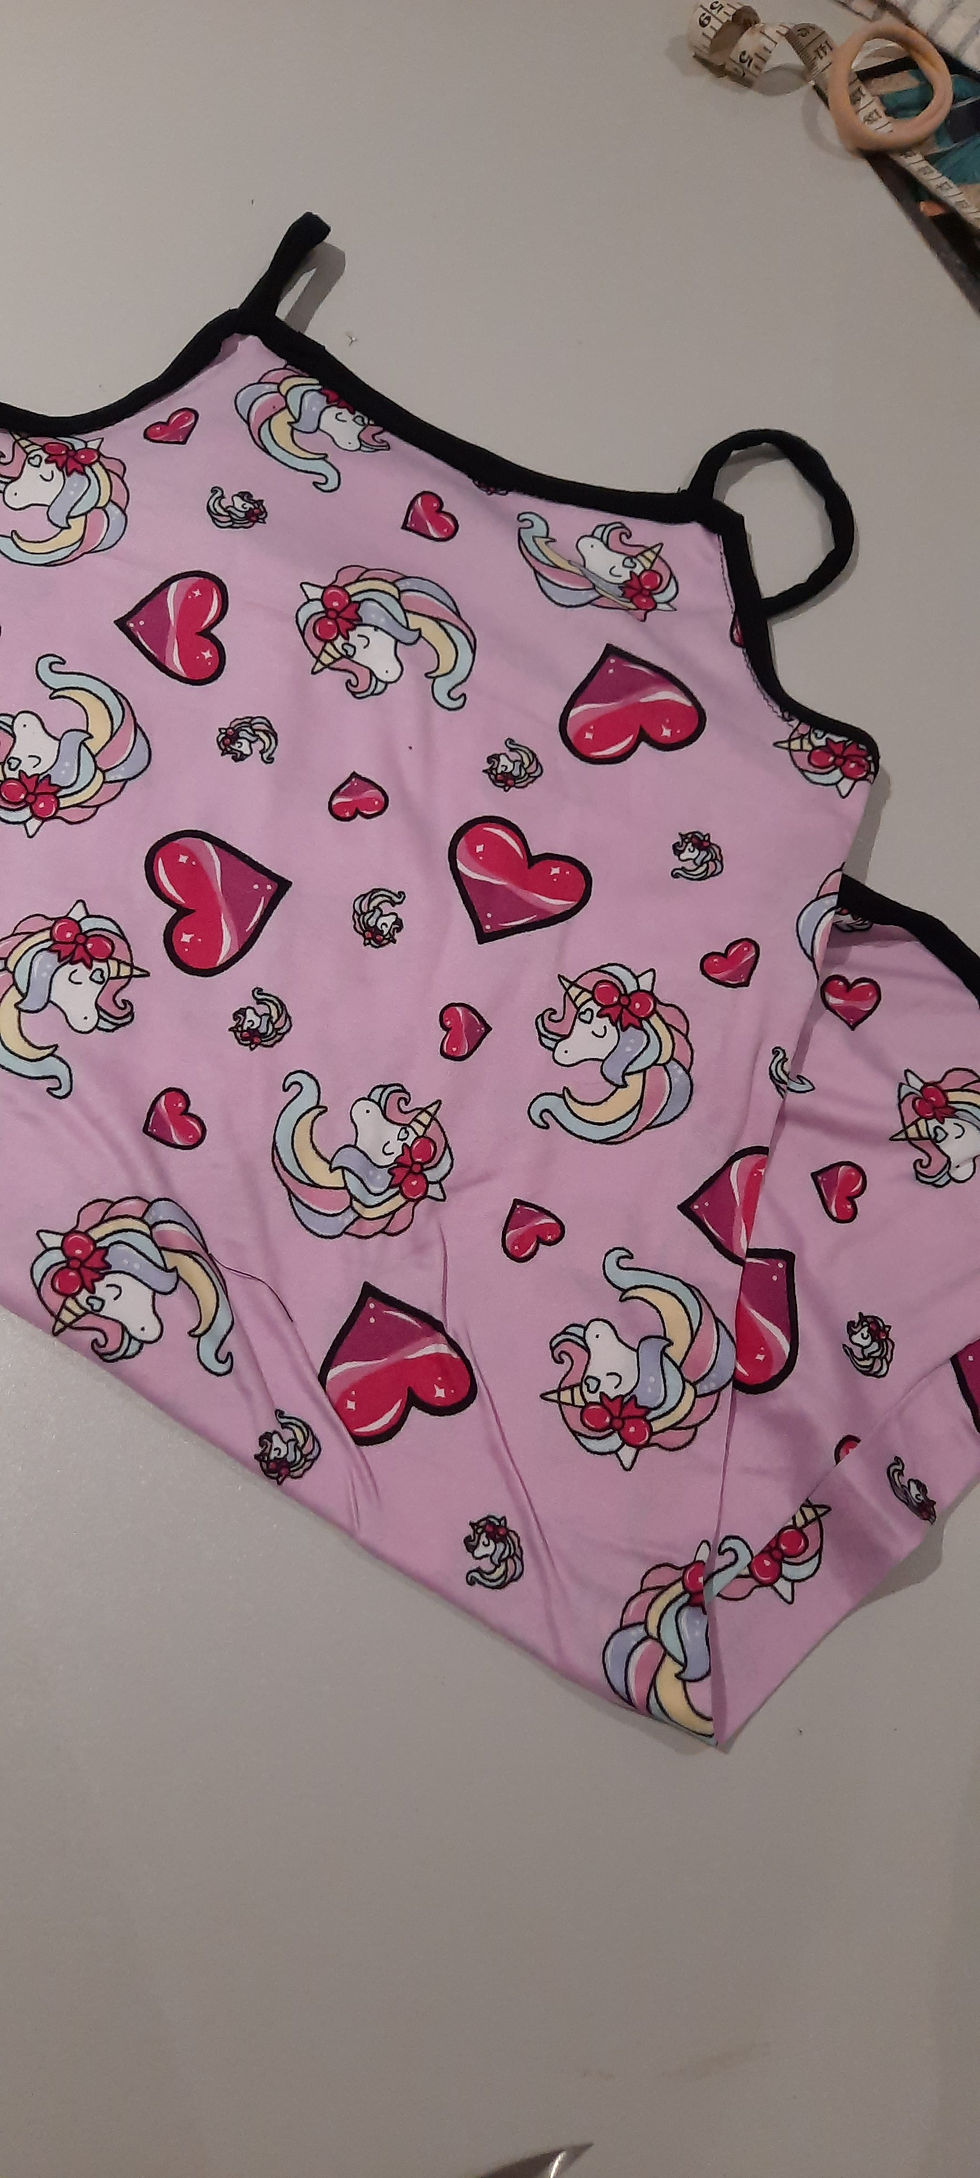
I took a pj dress from her cupboard and folded the front of the dress in half pinned to some tracing paper, traced the pattern. and repeated the steps for the back of the dress.
I added a 2cm allowance around the neck, under the arm and sides before laying my traced out pattern on the chosen material and cut it out. As with all patterns, I pinned the sides together (due to the spaghetti straps I did not start with the shoulders as we usually do) taking my 2cm seam allowance into account I sewed the garment.
To finish off the garment, I took bias binding and used it for straps and edging (a band). As a beginner, I particular found this a bit challenging as I didn't have much fabric to play around with (my bias binding was narrow)
To add the band, I laid my dress on the right side and the lined the bias binding on the wrong side before running a stitch right around the garment. The corners can be tricky but what I found works is leaving your needle in the material and then lifting the walking foot and turning the material as required before continuing to stitch.
After you have connected the bias binding you'll need to make the spaghetti straps before sewing the bias binding closed. To make spaghetti straps measure out your desired length and thickness, then add right sides together followed by stitching the sides closed. When completed you need to turn out the straps so that the right sides are face up. When you've completed this step you can pin it onto your garment and then to role the rough edge of the bias binding as a hem and then stitch right around to complete the item.
SOME NOTES:
I am sure there are better ways to construct this garment - I am a beginner (only get to sew ever now and then) so pretty impressed haha
In the picture you will see some out of place black threading - I still need to pick it as it was merely added to hold my material
This method can be adopted for any size nighty (should you have a sample)
You can use less than 2cm allowance if you wish
You do not need an overlocker/serger you can use a zigzag stitch on your sewing matching to finish the garment


Comments